In the dynamic world of online marketing, tracking the performance of your links is crucial for understanding user behavior and optimizing your strategies. WordPress, a popular content management system, provides a user-friendly environment for website owners. If you’re looking to add tracking links to your WordPress site, here’s a step-by-step guide to help you get started.
Adding Tracking Links on WordPress
Contents
- 1 Step 1: Choose a Link Tracking Tool:
- 2 Step 2: Generate Your Tracking Link:
- 3 Step 3: Log in to Your WordPress Dashboard:
- 4 Step 4: Edit the Page or Post:
- 5 Step 5: Insert the Tracking Link:
- 6 Step 6: Paste the Tracking Link:
- 7 Step 7: Add Descriptive Text (Optional):
- 8 Step 8: Update or Publish:
- 9 Step 9: Monitor Performance:
- 10 Conclusion:
Step 1: Choose a Link Tracking Tool:
Before diving into the WordPress platform, select a link tracking tool. Popular choices include Google Analytics, Bitly, or UTM parameters. These tools provide valuable insights into click-through rates, user engagement, and the effectiveness of your marketing campaigns.
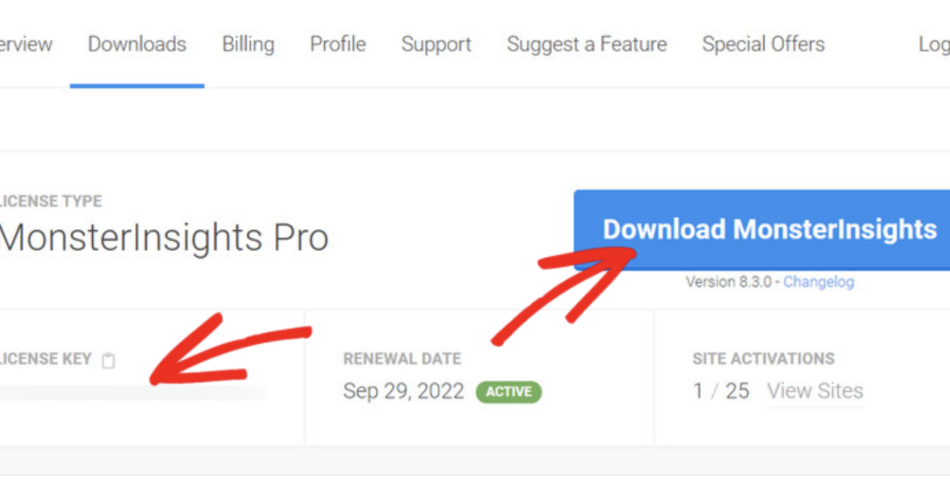
Step 2: Generate Your Tracking Link:
Once you’ve chosen a tracking tool, generate a tracking link. This often involves pasting your original link into the tool and obtaining a unique, trackable URL. Follow the instructions provided by your chosen tool to create the tracking link.
Step 3: Log in to Your WordPress Dashboard:
Access your WordPress dashboard by entering your website’s admin credentials. Navigate to the page or post where you want to add the tracking link.
Step 4: Edit the Page or Post:
Locate the page or post you want to edit and click on the “Edit” option. This will open the WordPress editor, allowing you to make changes to your content.
Step 5: Insert the Tracking Link:
Within the editor, find the section where you want to place the tracking link. Highlight the anchor text or image you want to turn into a clickable link. Click on the link icon in the toolbar, and a pop-up will appear.
Step 6: Paste the Tracking Link:
In the link pop-up, paste the tracking link you generated in Step 2 into the URL field. Ensure that you’ve replaced the original link with the new trackable one.
Step 7: Add Descriptive Text (Optional):
To provide clarity to your users, consider adding descriptive text in the “Title” or “Link Text” field of the link pop-up. This helps visitors understand where the link will take them.
Step 8: Update or Publish:
Once you’ve added the tracking link and made any necessary adjustments, click on the “Update” or “Publish” button to save your changes. Your tracking link is now integrated into your WordPress page or post.
Step 9: Monitor Performance:
Regularly check your chosen tracking tool to monitor the performance of your links. Analyze data such as click-through rates, geographical location of users, and referral sources to gain insights into your audience’s behavior.
Conclusion:
Adding tracking links to your WordPress site is a straightforward process that can greatly enhance your marketing efforts. By understanding how users interact with your links, you’ll be better equipped to optimize your content and campaigns for improved results. Utilize the insights gained from tracking to refine your strategies and drive greater success in your online endeavors.